In this project, I’ll show you how to DIY a temperature controlled smart lock. It’s suitable for some special scenes. For example, a building fire occurs, the door of the safety passageway will automatically open.
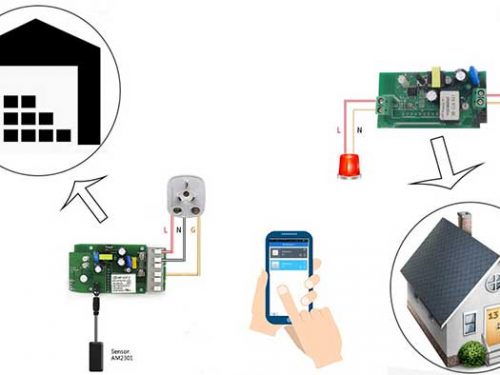
The principle of the project is I use a WIFI smart switch Sonoff TH to connect a temperature sensor, when the sensor detects the temperature in your target place is higher (or lower) than a value, Sonoff TH will launch the associated smart switch, Sonoff SV, which will control the connected door lock to open automatically.
Gadgets:
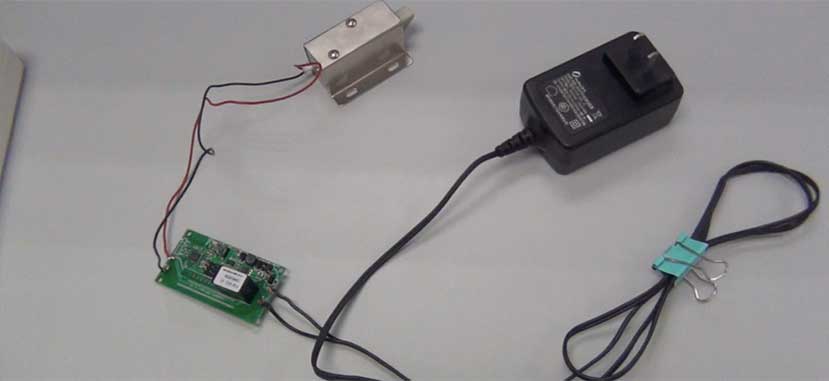
An electromagnetic lock;
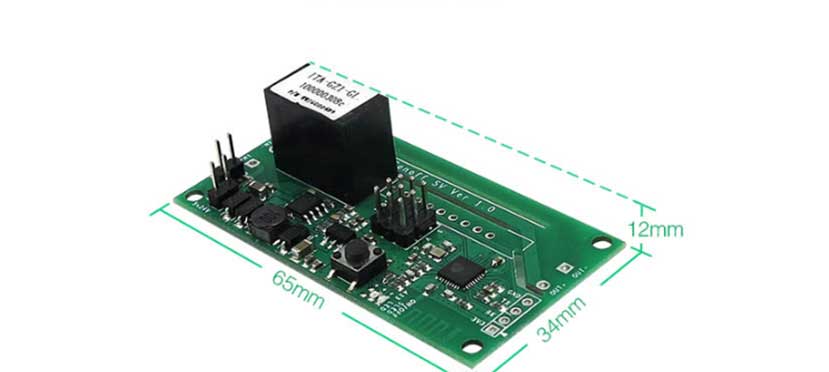
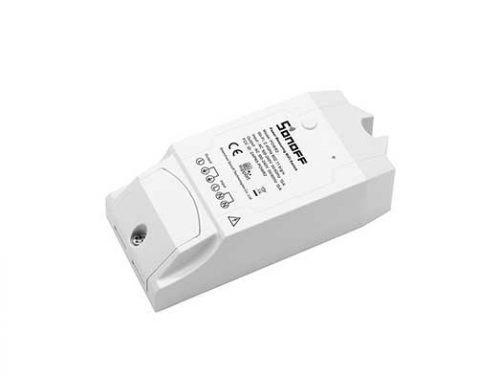
A Sonoff SV;
Two power plugs;
An electric soldering iron;
A multimeter;
A Sonoff TH;
A Temperature sensor
An app installed on smart phone or tablet
Features:
1.Remotely open the door lock in one place via the temperature in another place.
Steps:
1. Identify the positive and negative terminal of the power plugs with Multimeter.
2. Use an electric soldering iron to respectively attach the positive / negative terminal of one power plug to the “IN+” / “IN-” side of Sonoff SV.
4.In the same way, attach the positive and negative terminal of this lock to the “OUT+” and “OUT-” side of Sonoff SV.
5.Connect the positive and negative terminal of another power plug to the “L OUT” and “N” side of Sonoff TH.
6.Plug the temperature sensor into Sonoff TH.
7. Download E-WeLink APP to your Android smart phone or tablet.
8.In this app, click the “Add Device” button and then follow the wizard to add Sonoff SV and Sonoff TH under your account.
9.Click the drop-down menu to add smart scene to associate the two devices, and set the temperature condition.
It’s done. As soon as the temperature detected by the sensor reaches the condition you set up, the door will automatically turn on or off.


Ctira
Hi,
i would like to see the temperature in place, just to see a number, graph ot temperature.
Is it possible?
Best Regards
Ctirad